Building a Technical Mountain Bike Trail with Wooden Bridges and Rock Rolls: A Step-by-Step Guide
If you're interested in building a mountain bike trail, particularly one that incorporates technical trail features, then this blog post is for you. In this post, we’ll walk through how I transformed a simple rock garden into an epic technical descent featuring both rock rolls and wooden bridges—all built right in my backyard.
The Beginning: Uncovering Hidden Potential
I initially thought my next trail project would be a quick and easy task. I set out to rake through a chunky rock garden, remove fallen logs, and give it a quick ride-through. However, as I began clearing the area, I quickly realised the potential of the rock section I was working with—it was way more challenging and fun than I had anticipated.
What started as a simple clean-up evolved into a much more ambitious project. I decided to combine both rock and wood to create a technical descent that would offer more options for riders. Some lines would be more challenging, making this a true tech trail.
Building the Wooden Bridges
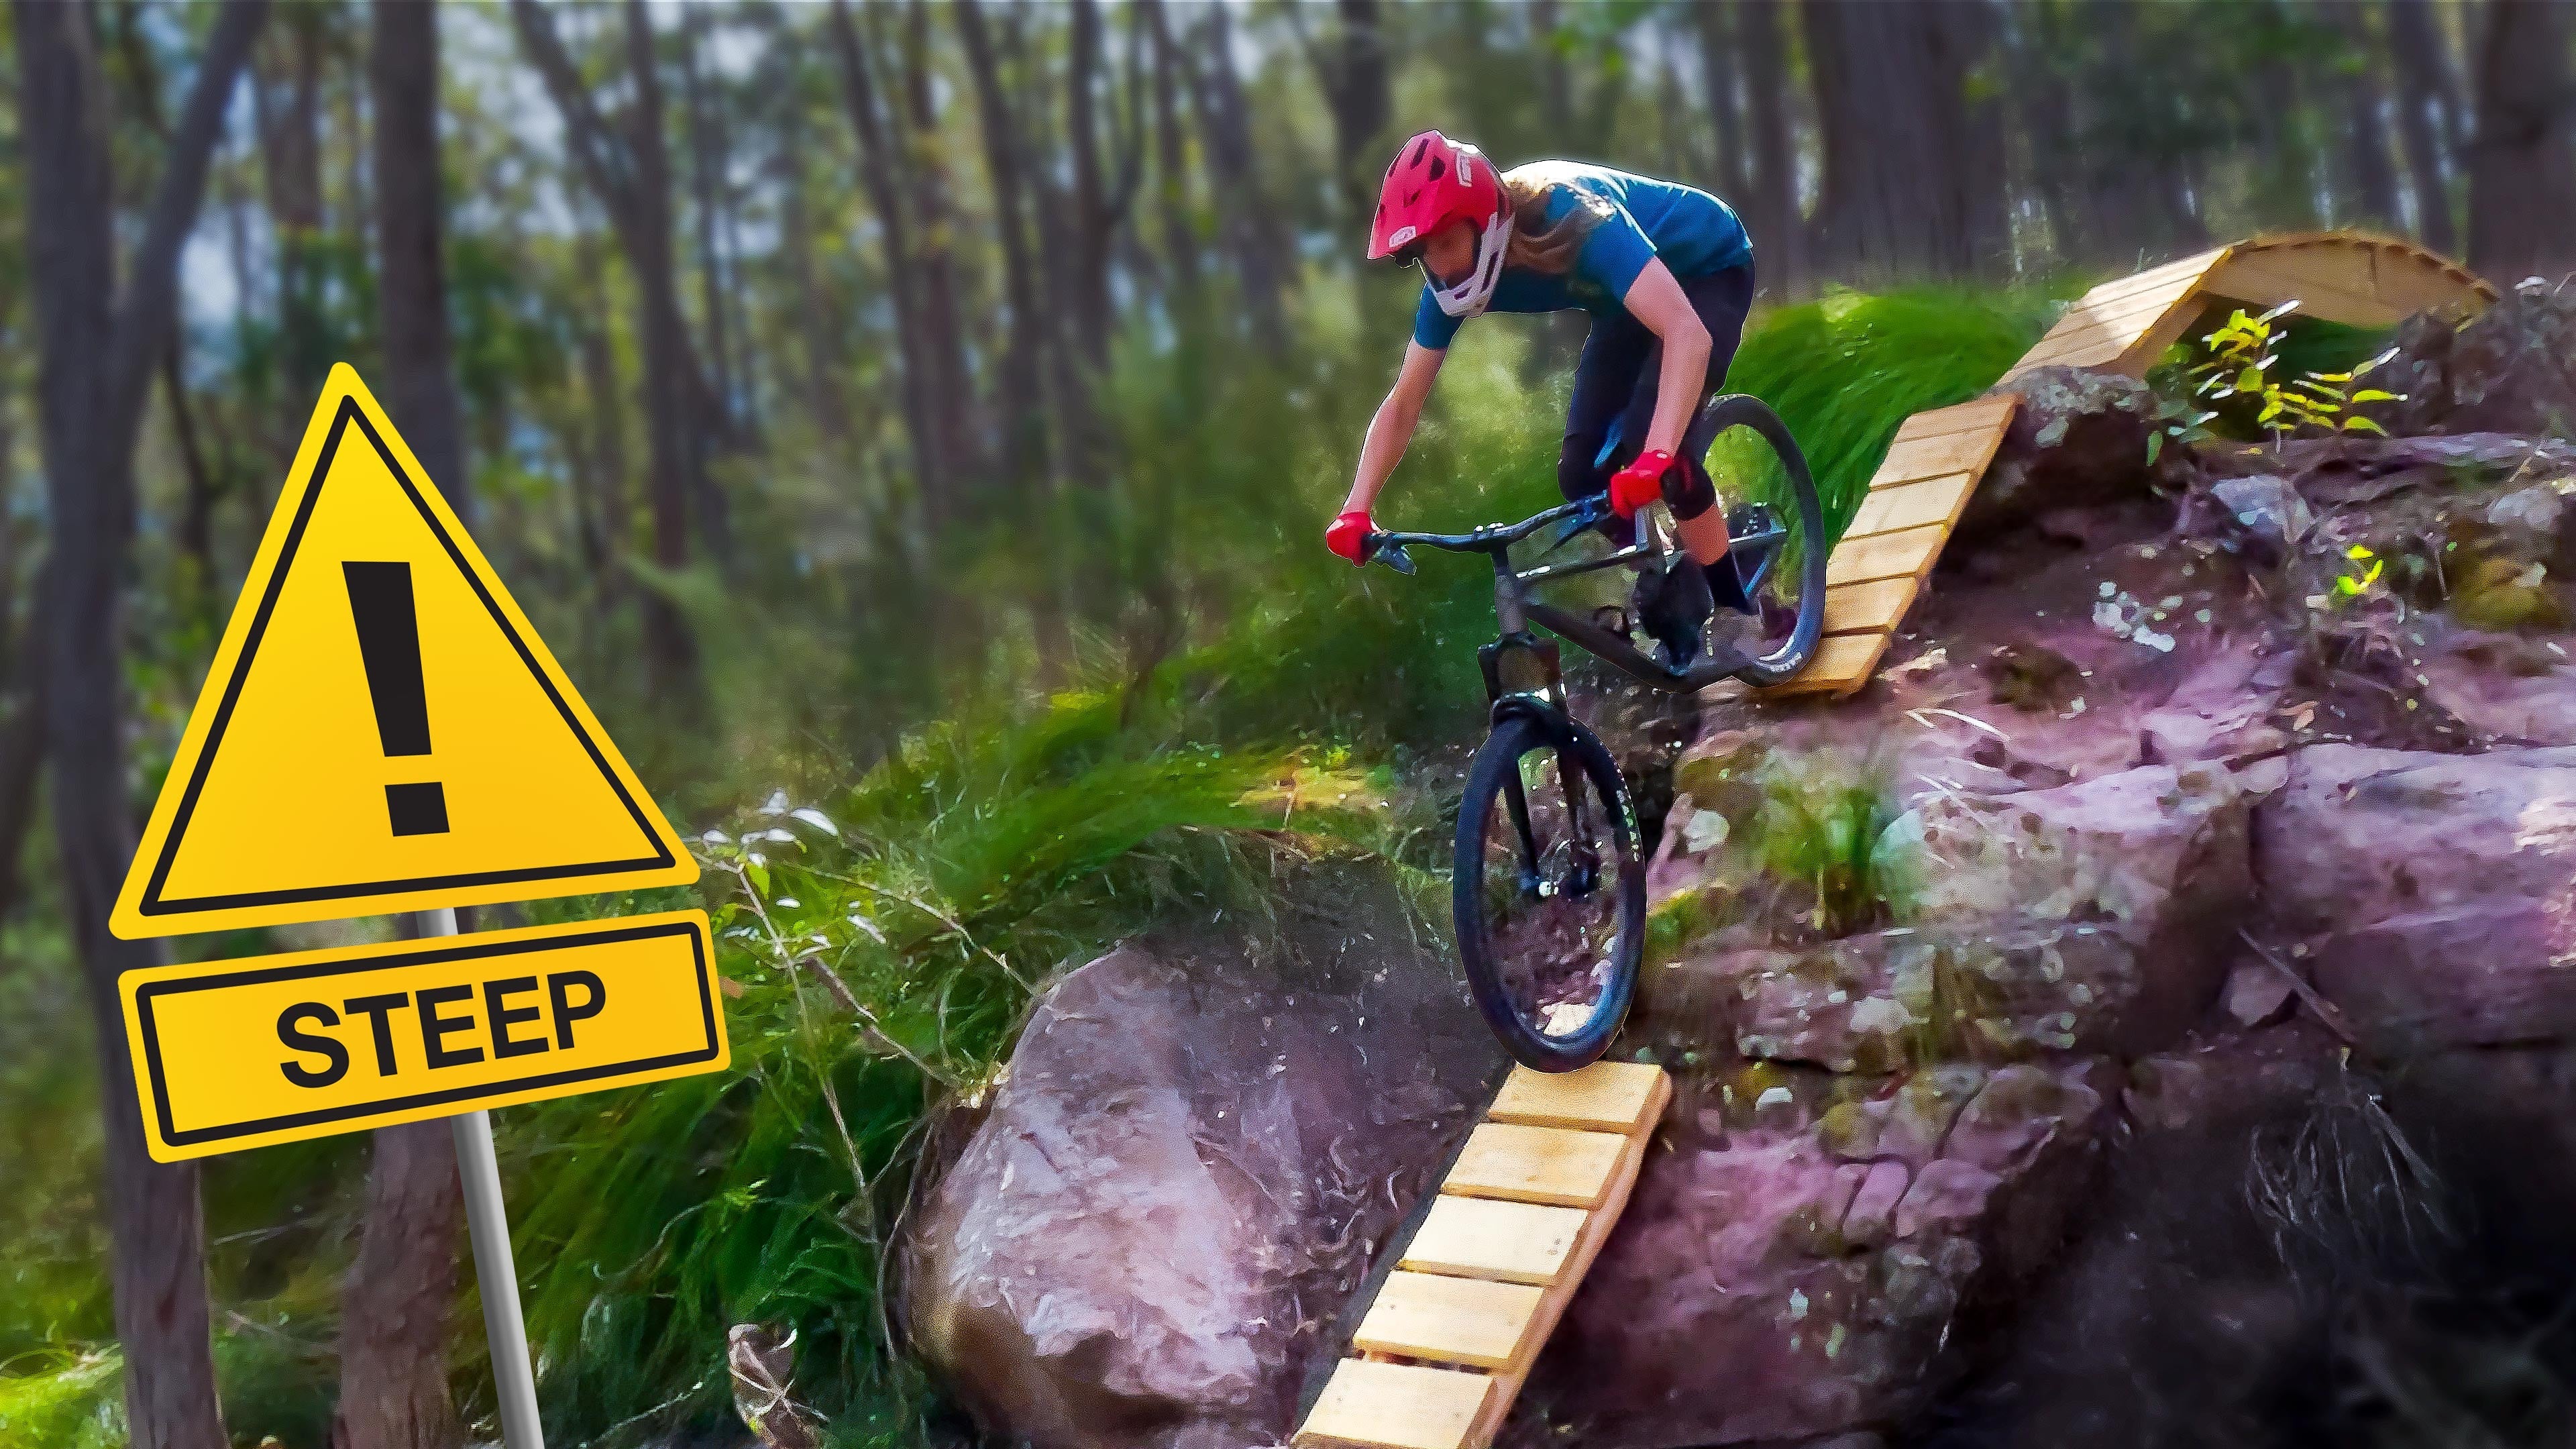
One of the most exciting parts of this project was designing and building wooden bridges that would link some of the steeper, more narrow rock sections. These bridges would allow riders to flow through the rock garden smoothly and add some unique, technical features to the trail.
Building wooden features like bridges takes patience and creativity. I started by clearing out the dead trees near the rocks. These trees were small enough to be used as stringers for the bridges, so I carefully cut them down and stripped the bark off to make them suitable for the build. The logs provided a great natural look while ensuring the structures were sturdy enough to withstand the harsh conditions of the trail.
Tackling the Rock Sections: Masonry Challenges
Attaching wood to rock is no easy feat, especially when the rock is as crumbly as the one I was working with. My first challenge was drilling into the rock to secure the wooden bridges. I quickly learned that not all drill bits are created equal. The masonry drill bit I initially tried didn’t fit well with my drill, so I had to return to the store to get one that was better suited for the job.
Once I had the right tools, I drilled into the rock, carefully securing the anchor screws that would hold the stringers in place. The process was slow but satisfying, and before long, I had my first anchor securely in place. I repeated this process for the second bridge and was able to quickly move on to adding the decking, which would allow riders to smoothly roll over the feature.
Adding a Rolling Bridge and Fixing Mistakes
As I continued to build, I realised that I could use some of my offcuts from previous builds to create a rolling bridge that would add some more fun to the descent. I opted for a simple design that would fit perfectly with the landscape, and while building, I made sure everything was tightly secured to prevent any wobbling.
There’s always room for improvement, though. I quickly noticed that I had placed a vertical support in the wrong spot. It wasn’t a big deal, but it’s important to pay attention to these small details to make sure everything is sturdy and rides smoothly.
Finishing Touches: The Arch Bridge and Rock Fill
One of the final features I added to this section was an arch bridge over some chunky rock sections at the bottom of the trail. This was a tricky spot because the rocks were tight, and they dropped off quickly. I wanted to make sure my front wheel wouldn’t drop too much and send me over the bars, so I filled in the gaps with smaller rocks. This would help keep the ride smooth and technical.
Testing the Tech Trail
After weeks of building, it was finally time to test the trail. I started with some easy lines to warm up and then moved on to the A-line, which was a much more intense section with those narrow wooden bridges and rock rolls. The combination of rock and wood made for a seriously fun and challenging ride. The tech trail offered something for everyone, from beginners to advanced riders.
While the bridges were narrow and technical, they added a unique challenge that was more difficult than I initially expected. The mix of wooden features and rock rolls turned this once simple section into a thrilling ride, with a real sense of accomplishment every time I successfully completed a line.
Conclusion: Creating a Unique Backyard Mountain Bike Trail
Building a backyard mountain bike trail with technical features like wooden bridges and rock rolls is a rewarding experience. It’s not just about creating a trail; it’s about crafting something that challenges riders, provides exciting opportunities for skill-building, and transforms the landscape into something new.
If you’re interested in how to build a tech trail, keep in mind that the process involves a mix of creativity, technical skills, and a lot of patience. The end result can be an amazing ride, right in your backyard.
For more inspiration and tips on how to build a mountain bike trail, check out my other videos and blog posts on trail building.


