Building a Technical Mountain Bike Trail with a Log Ride and Rock Drop
After years of building my backyard mountain bike flow trail, I asked my audience what they wanted to see next. The answer was clear: tech! Chunky rock gardens, rock drops, and raw natural features. But there was one problem—my current trail had no rocks. Instead of hauling them in, I decided to build a new trail where the rocks were already part of the landscape.
This new tech trail kicks off with two exciting features: a log ride and a rock drop. Here’s how I built them and what you need to know if you're thinking of adding similar features to your own backyard mountain bike trail.
Finding the Perfect Rock Drop
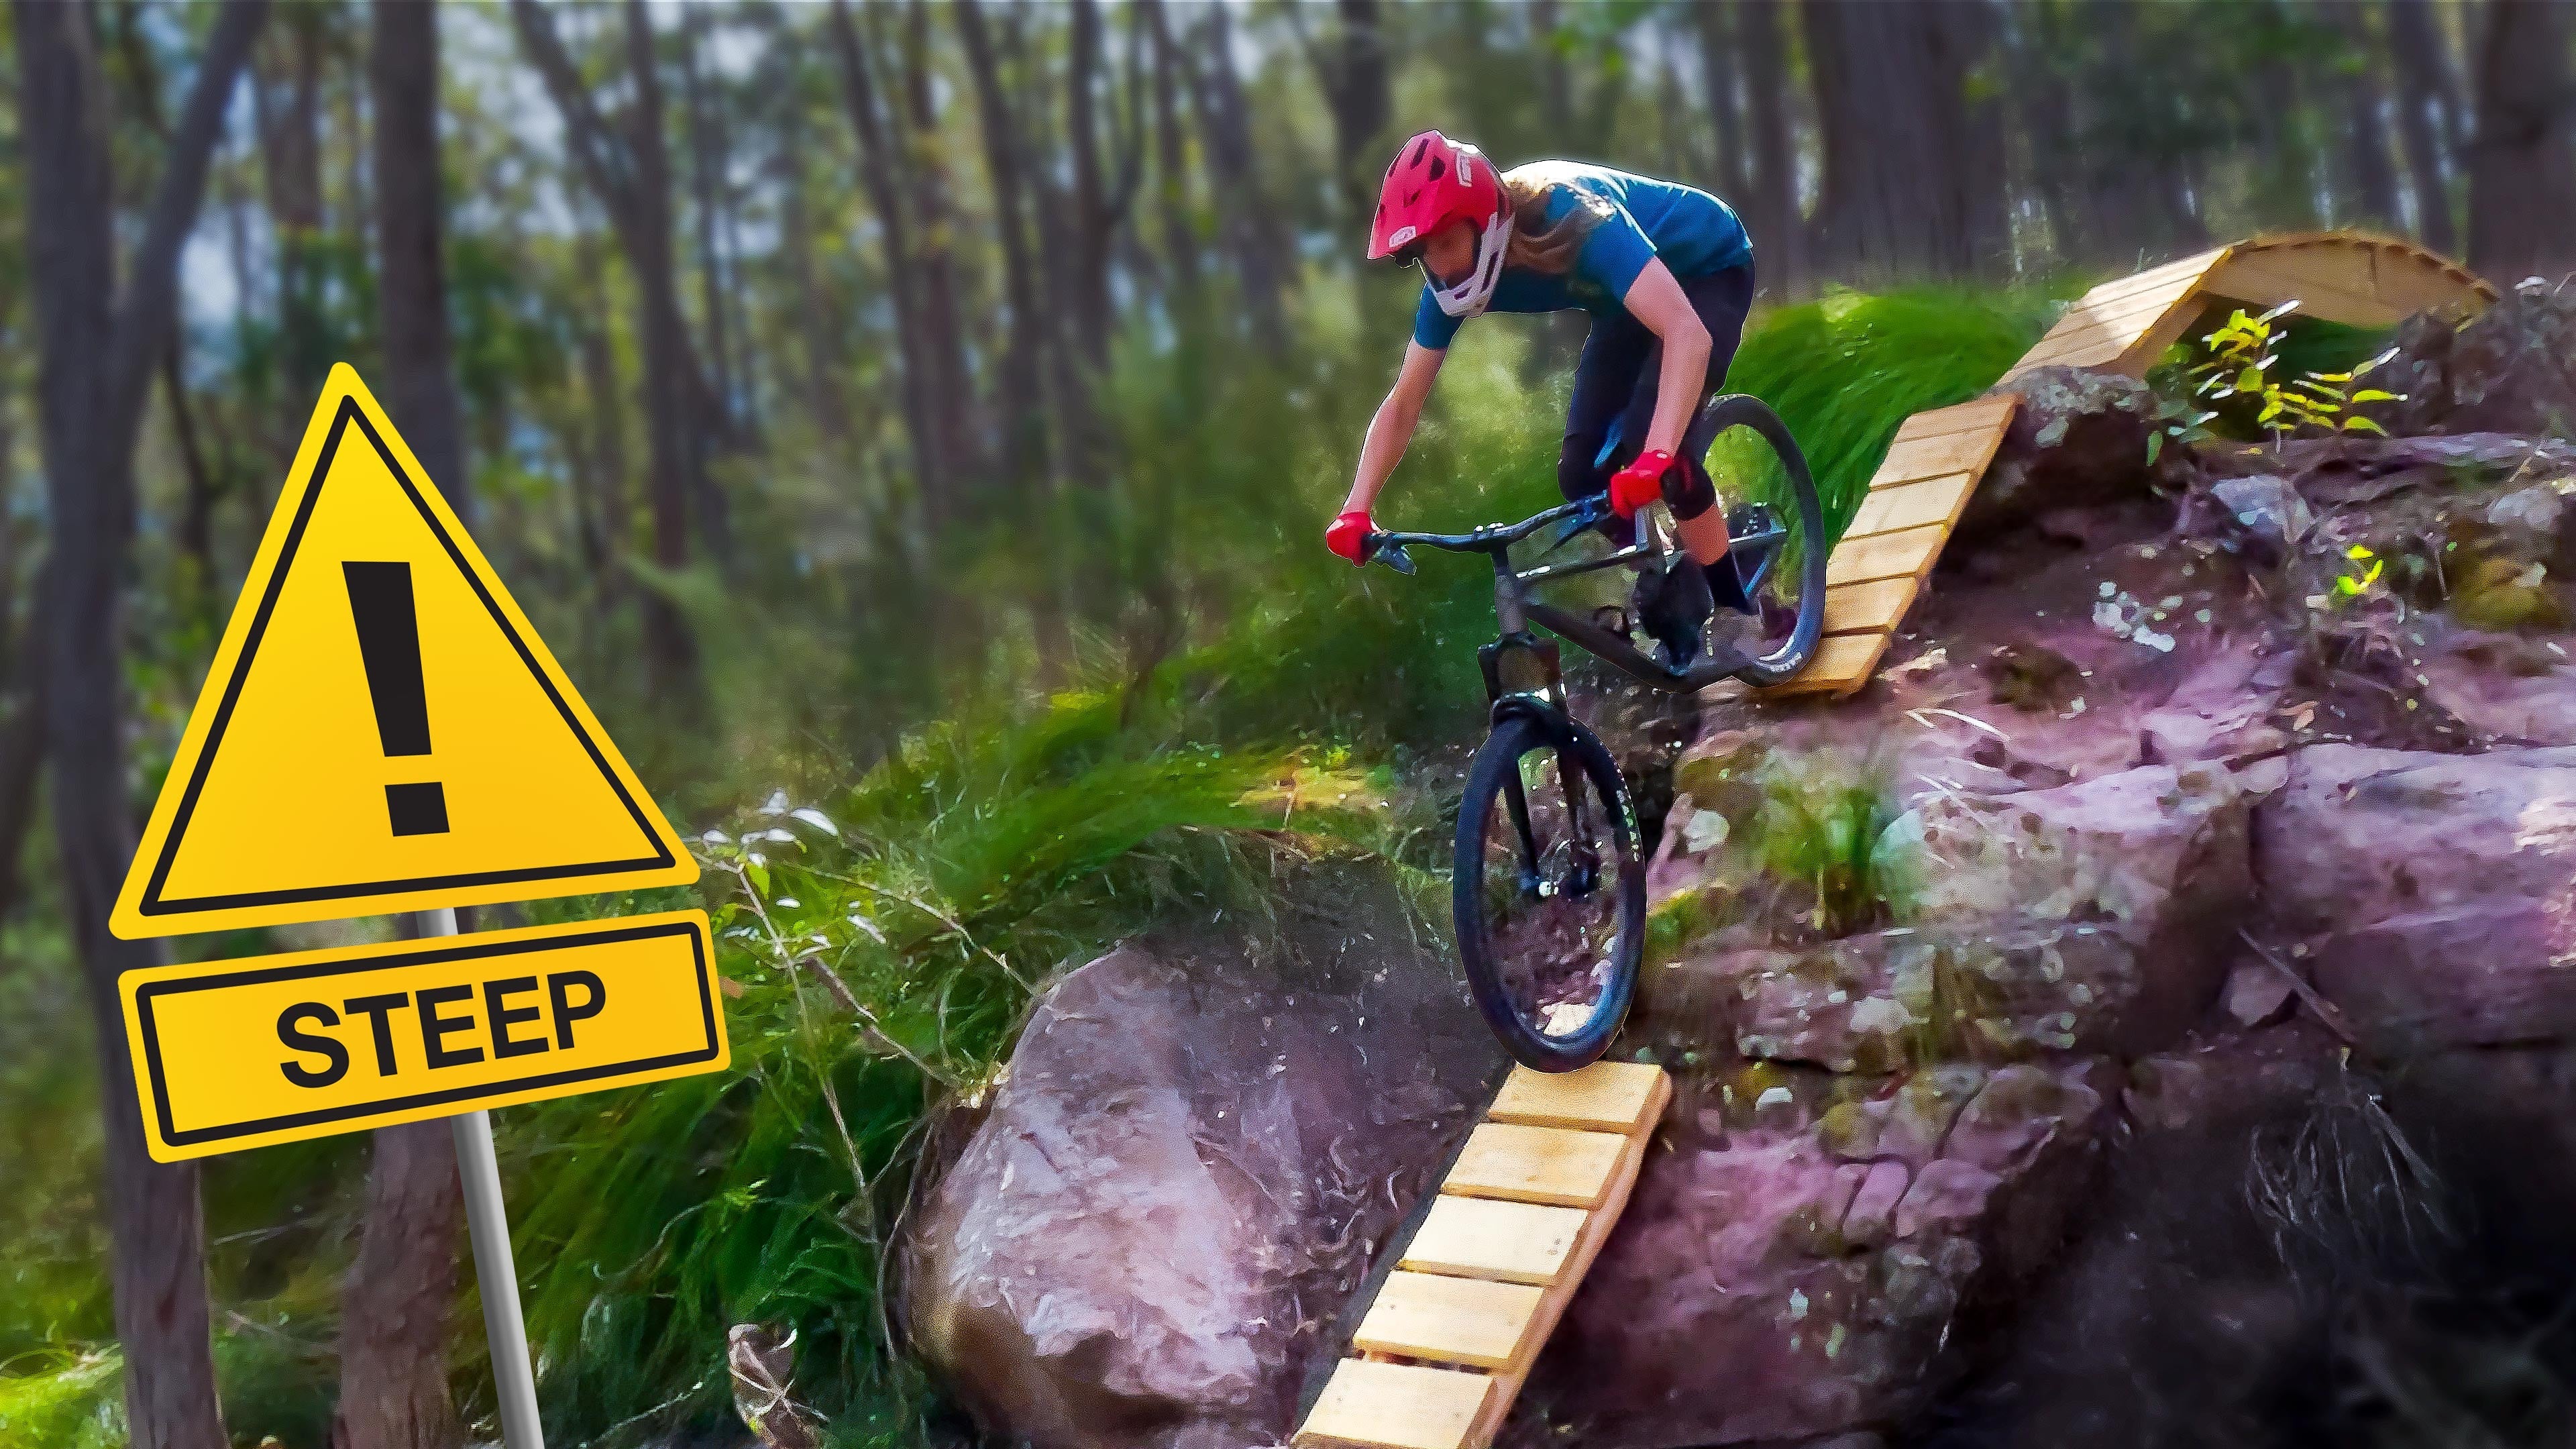
Rock drops can be one of the easiest features to build—if you have the right rock. I was stoked when I found the perfect ledge on my property. The plan was to drop off the highest part and land below, creating a fun but manageable feature.
Key Steps to Building the Rock Drop:
- Clear the Area – I removed all the loose debris and vegetation to expose the rock fully.
- Assess the Landing – The natural terrain was too flat, so I used logs to build it up and create a steeper transition.
- Determine the Gap – The final gap size depended on the speed I could carry from the log ride into the drop.
This setup meant I had to make sure the log ride before the drop provided enough momentum.
Building the Log Ride
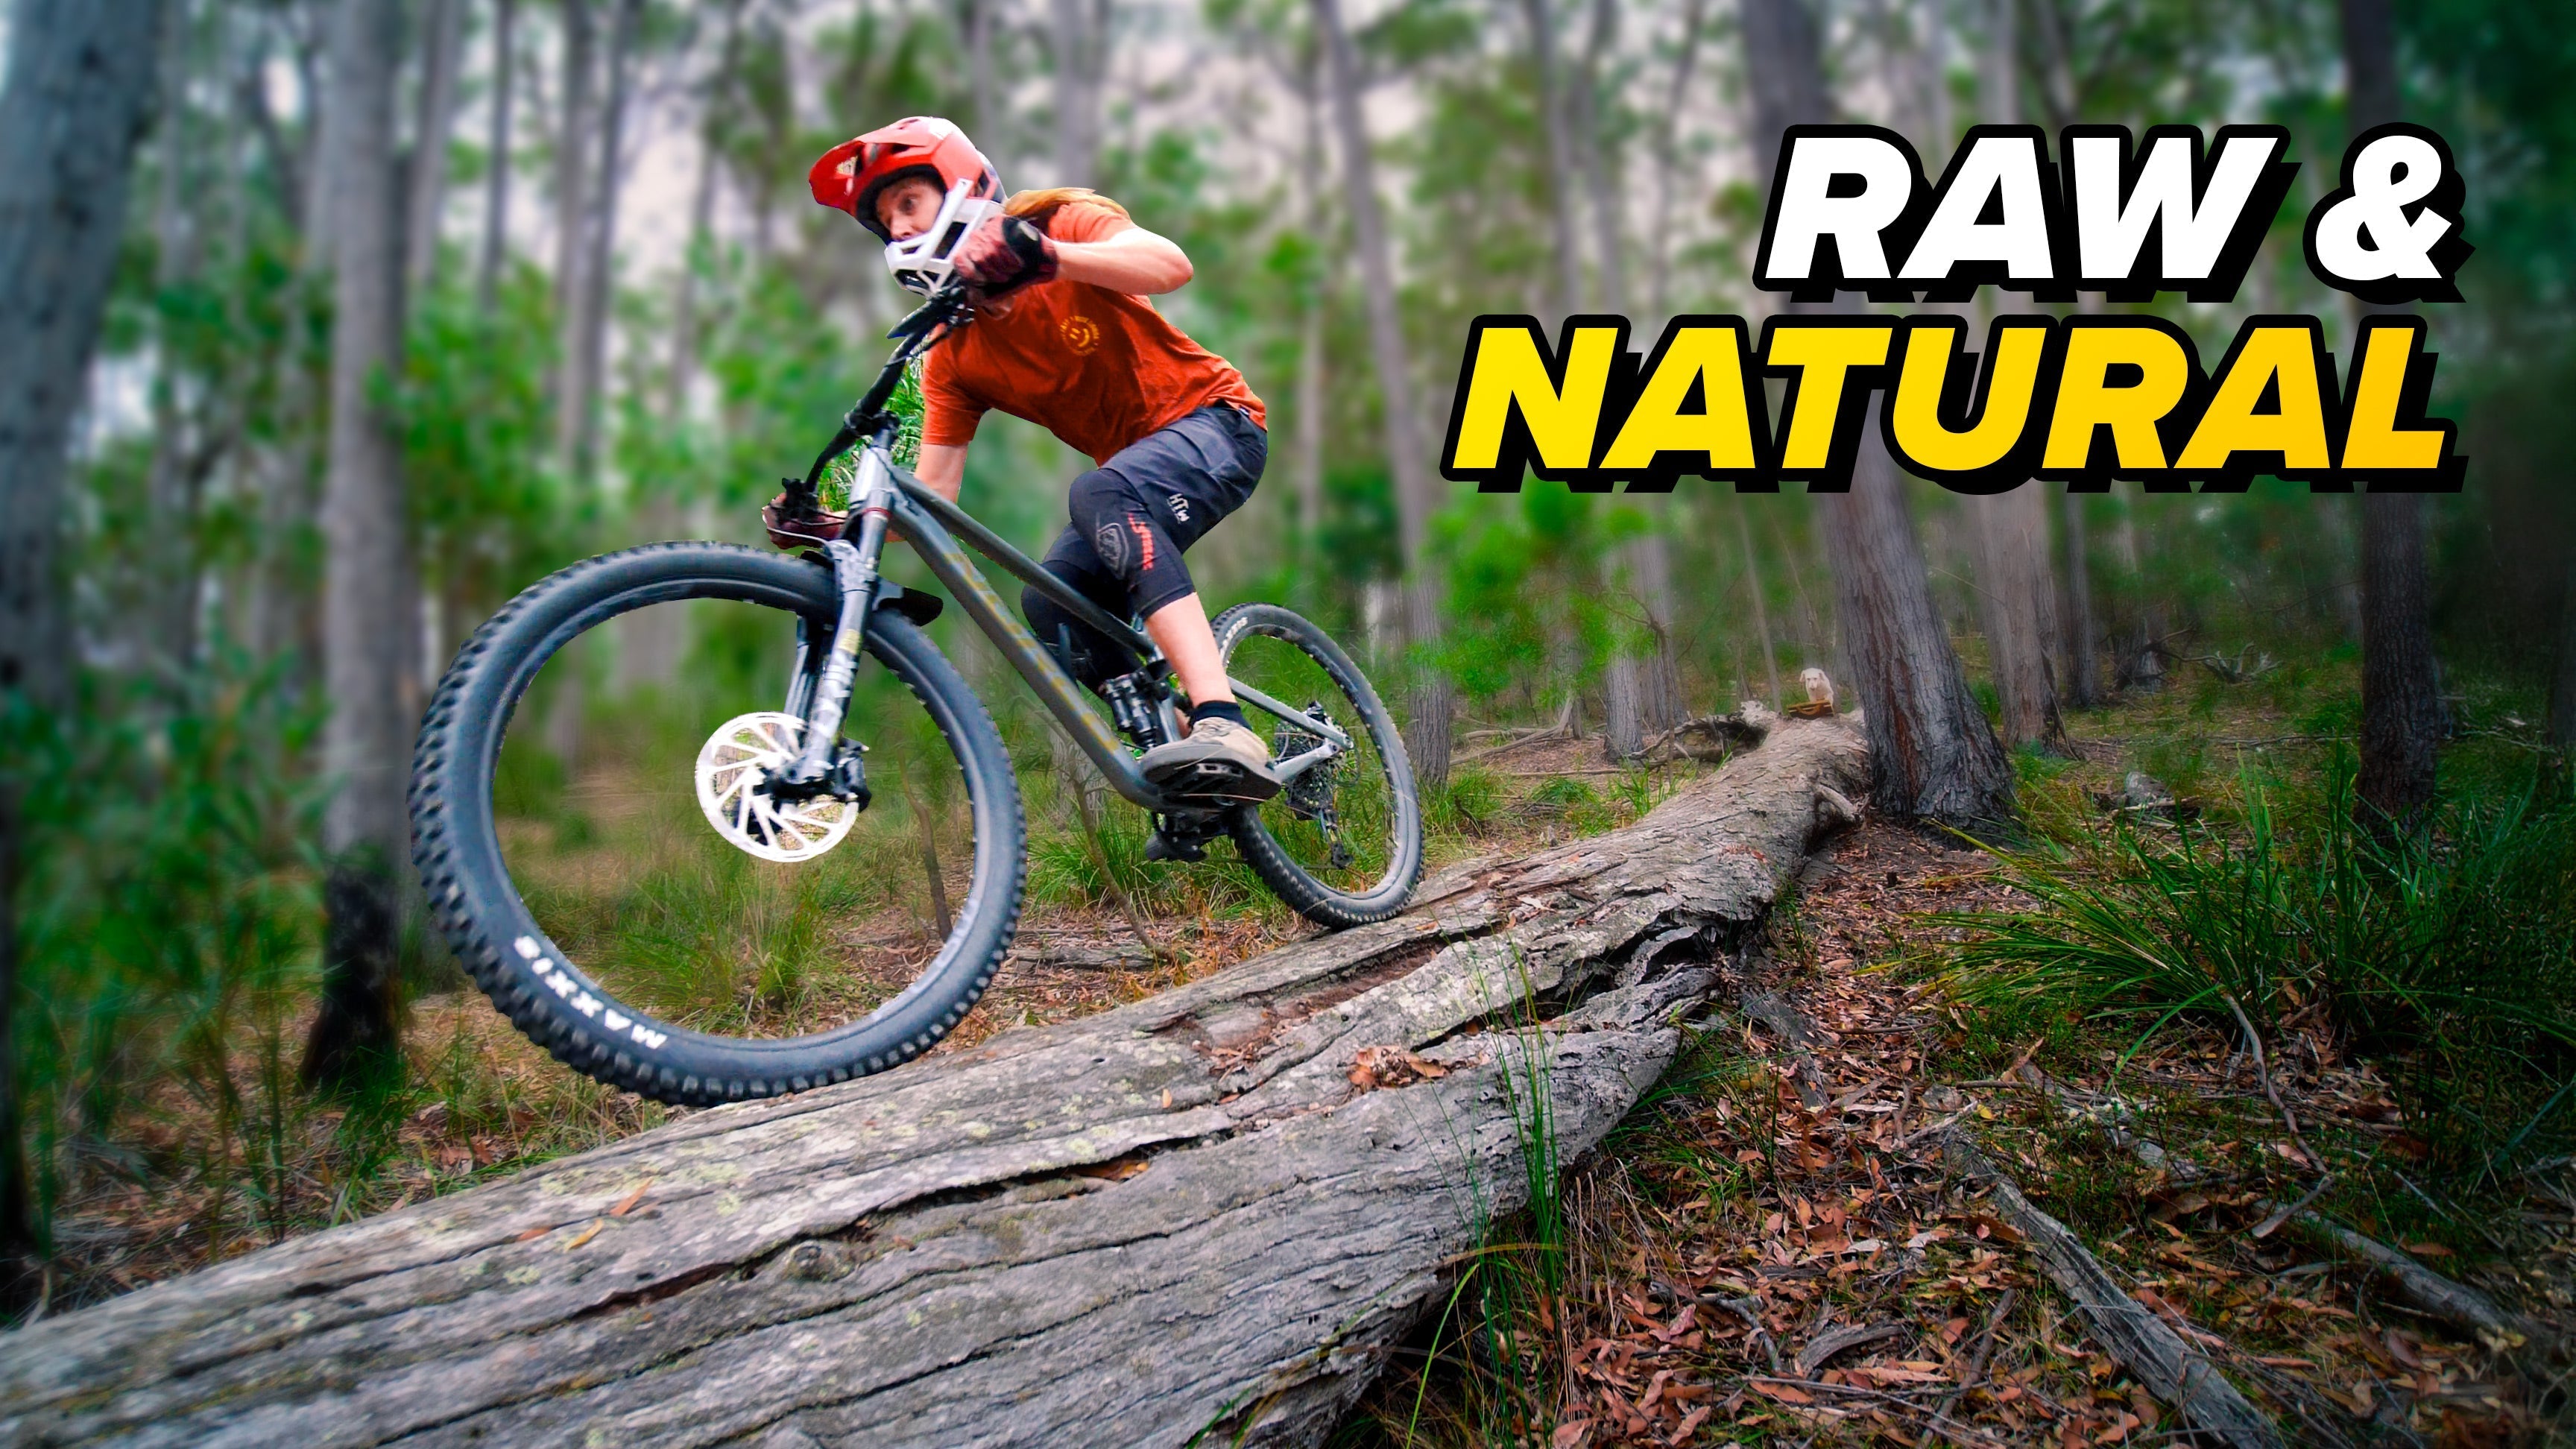
I found an old fallen tree that was thick enough to ride along without much modification. The only work required was at the start, where I had to build a bridge to connect the log to the ground.
Challenges of the Log Ride:
- The log was old and slightly rotting, so I had to test its strength.
- A large knob needed to be removed to create a smooth transition.
- I had to build a sturdy ladder bridge to make the ride-up smooth.
How I Built the Bridge:
- Cleared Dirt and Debris – To avoid blunting my chainsaw, I removed dirt from the wood before cutting.
- Cut and Positioned the Support Log – The first log I picked was hollowed out by termites, but I made it work by reinforcing it and adding planks for the riding surface.
- Decking the Bridge – I used leftover wood from previous builds to create the riding surface.
The result? A sketchy, fun, technical log ride leading straight into the rock drop.
Clearing the Trail and Adding Raw Tech Features
Instead of making the trail smooth and bench-cut, I decided to leave it raw and natural. The off-camber sections and embedded rocks add an extra challenge, making the trail more technical.
What Makes a Good Tech Trail?
- Uneven terrain – Roots, rocks, and off-camber sections create challenge and variety.
- Natural features – Instead of building jumps or berms, I worked with what was already in the landscape.
- Controlled roughness – The trail is tricky but still rideable, striking a balance between fun and technical difficulty.
Watch the Full Build Video
Want to see the full process, including the unexpected surprises I found while clearing the trail? Check out my video where I build the log ride and rock drop from scratch:
This is just the beginning of the new tech trail. Stay tuned for more features as I continue transforming this Australian bushland into a mountain biker’s dream!
Keywords:
- Trail building
- How to build a mountain bike trail
- Tech trail
- How to build a tech trail
- Backyard mountain bike trail


